
How to Properly Install an HTML Signature in Dropbox Inc.’s Mailbox for Mac
For basic signatures, the good old copy-paste method works well for the Mailbox App from Dropbox. You simply design your signature and code it into an HTML file, open it in Safari, Command-A to select everything, Command-C to copy it all, then Command-V in the Mailbox signature preference pane to install.
Easy right? Wrong. For everything non-trivial Mailbox breaks formatting and even positioning with what it thinks are code enhancements. They wrap everything in divs, adjust styles, strip code, it's a joke really. When will companies learn that we don't really want you touching our code!
Here's how to get the signature the way you designed it in Mailbox.app.
This is not a set of instructions for the default Apple Mail App. If you looking for that, see them for:
Note that this tutorial is pretty technical, involving some command line shenanigans and hex encodings.
-
First, open Mailbox.app and go to
Preferences>Accounts>Signatureand enter in a placeholder signature that is unique and searchable. I use a simple phrase like "foo-bar-baz". Close preferences to save the placeholder.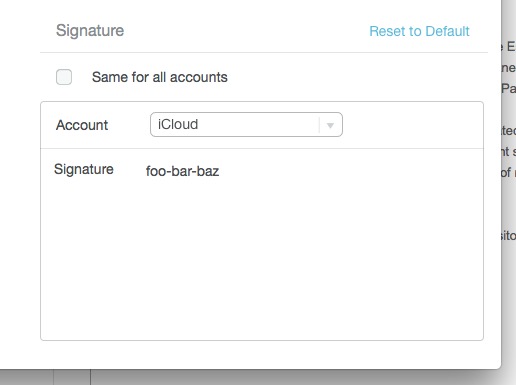
-
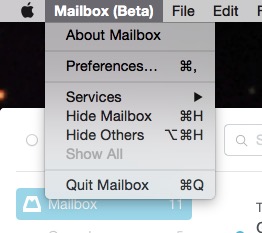
Completely quit (Command-Q) Mailbox.app if it is open. we will be tweaking its database and doing so while open will probably cause problems.
-
Open the folder containing the database file for Mailbox. It is located at:
~/Library/Caches/com.dropbox.mbd.external-beta/You can open the Library folder in Finder by holding down the
Optionkey and clicking the "Go" menu in Finder.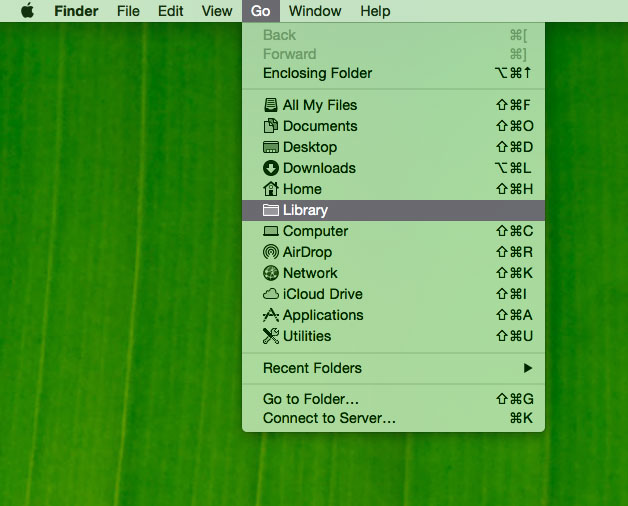
Or you can open the folder using Terminal.app by entering:
open ~/Library/Caches/com.dropbox.mbd.external-beta/ -
Once the folder is open, we want to edit the database entitled
settings.db. If you have a database program, opening it will allow you to read the values, but you can't use it to edit them — the values are stored as SQLite blobs and I don't know of a Sqlite GUI that allows you to enter data that way, so we need to dig into the command line to do so.First, you need to have
sqlite3installed. If you have it already, please skip to the next step.- Install Homebrew by following the instructions on thier page in Terminal.app
- In Terminal.app, type
brew updateto update the repositories - In Terminal.app, type
brew install sqlite3to install sqlite3
-
Now that we have
sqlite3installed, lets start by getting the existing settings data which includes all signatures.If you have a database program which can read the blob values of settings.db, open the database up inside of it. Go to the table named
kv_store, then open the value fororchestra.account.manager.accounts.set. Copy and paste into another plain text file that we can edit it in. I will copy and paste mine into a file on the Desktop calledvalue.txt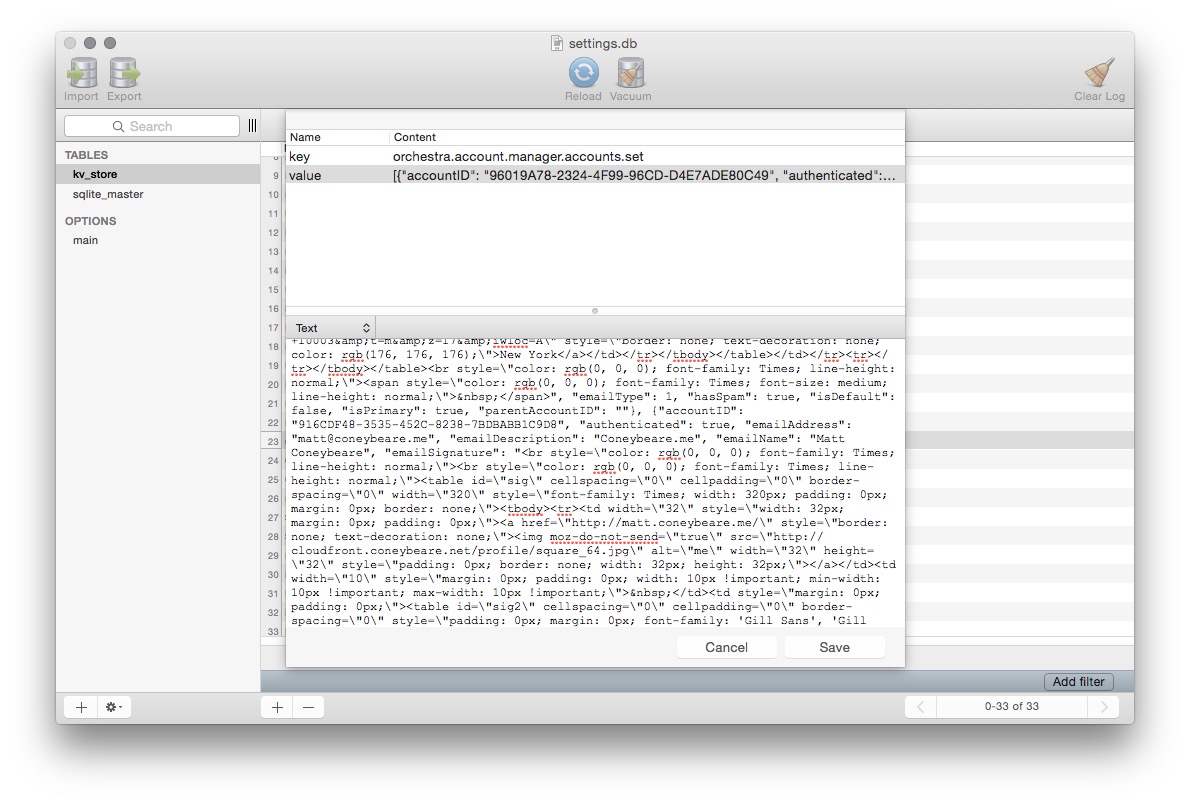
If you don't have a program that read the blobs, we can grab it in Terminal.app by using the
sqlite3we just installed. In Terminal.app, type:echo "select value from kv_store where key = 'orchestra.account.manager.accounts.set';" | sqlite3 ~/Library/Caches/com.dropbox.mbd.external-beta/settings.db > ~/Desktop/value.txt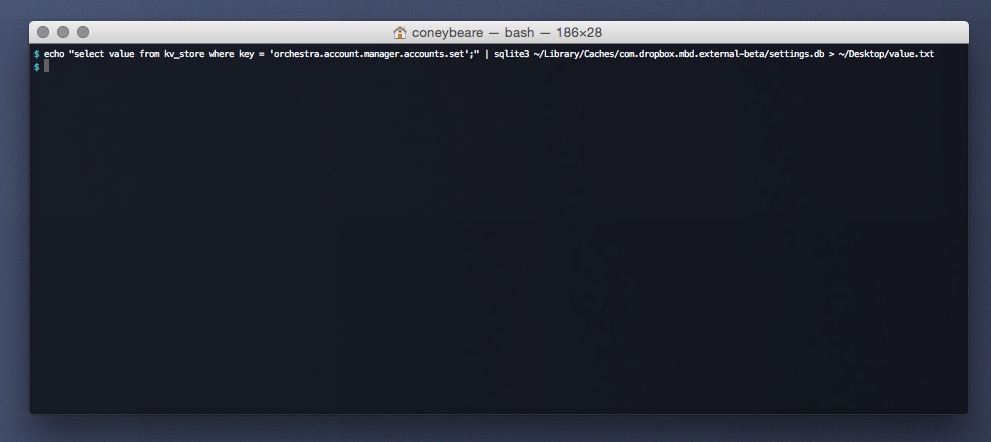
Breaking this down, the command does the following:
- Echos a
sqlitecommand to read the blob. - Sends that into
sqlite3opened to thesettings.dbdatabase using a pipe - Writes the data into a file on your desktop named
value.txt
At the end of this step, you should have a file on your desktop named
value.txtwith a ton of stuff inside. - Echos a
-
Immediately make a backup copy of
value.txtso that we have it in case something were to go wrong. I will save my on the desktop asvalue.bak.txt. -
Open the
value.txtfile with a basic text editor. I use TextMate 2. You can do it just as easilly in TextEdit.
-
Locate the placeholder text you used in Step 1. Use the Find function in whatever program you are using to make it easier.
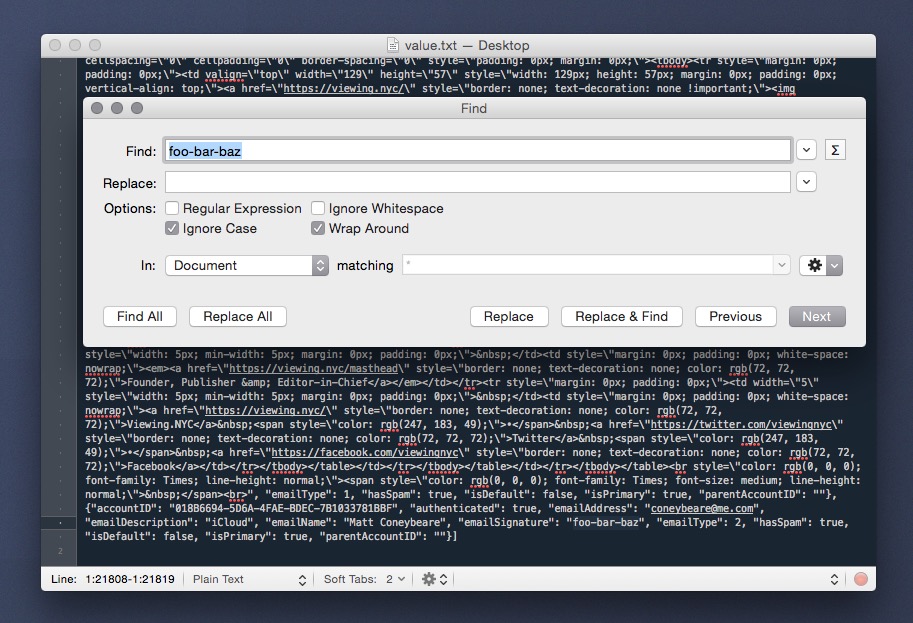
When you find it, delete everything between the double quotes.
-
Now we need to replace the placeholder with your
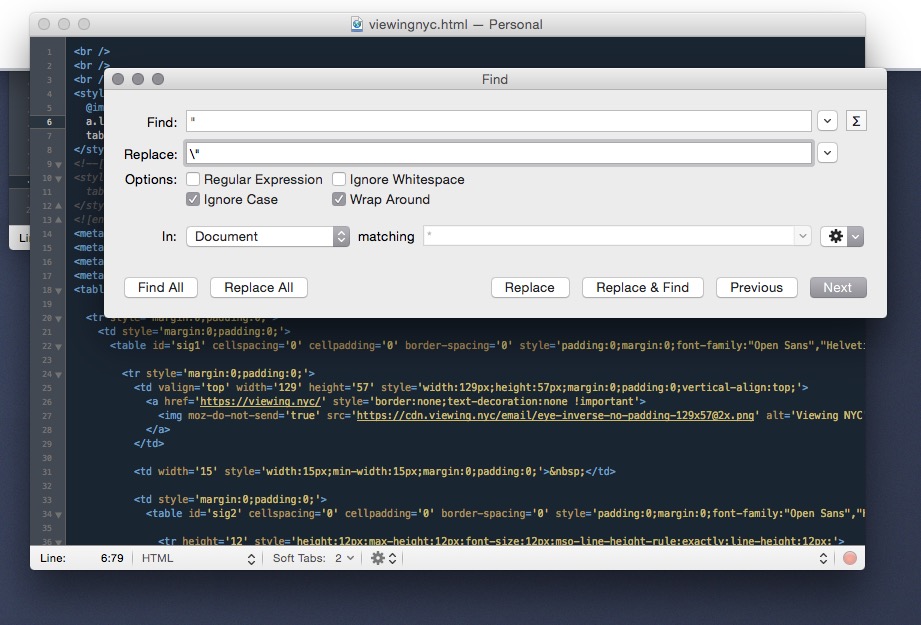
htmlcode. But before we can do that, we need to ensure that the double quotes in your code don't mess up thevalue.txtfile, so we need to escape them.Open your html code in a text editor, then replace any instances of a double-quote (
") with one that is escaped by a backslash (\").The Find/Replace function works well for this.
-
Next, we need to compress the code to remove all newlines and space. I used a free online tool called TextFixer for this.
Enter in your escaped
htmlcode into the top box, then compress it.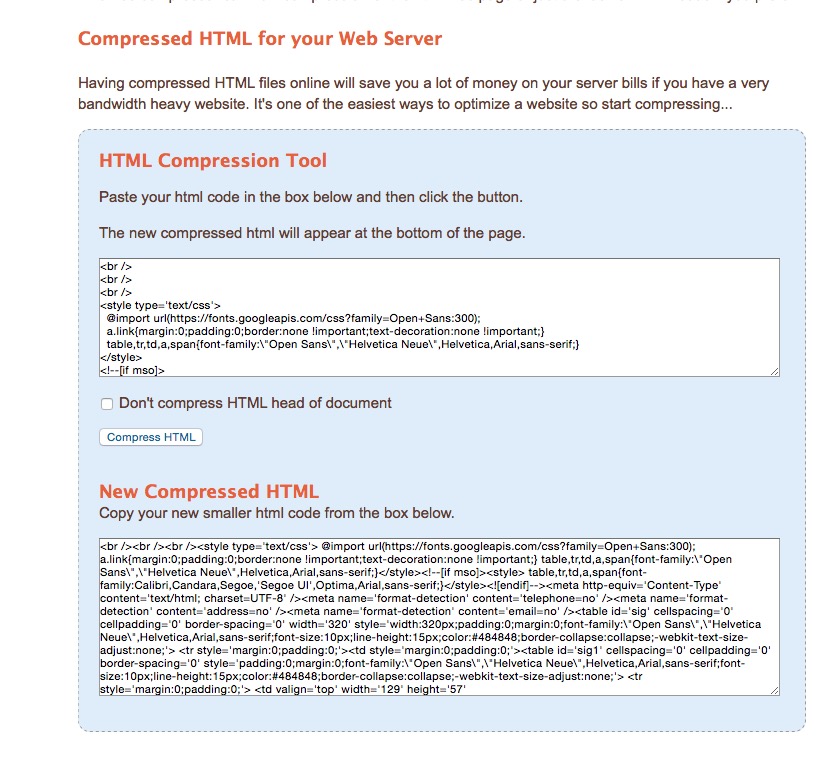
-
Copy the entire escaped and compressed
htmlcode for your signature and paste it into thevalue.txtfile where you deleted the placeholder, between the double quotes.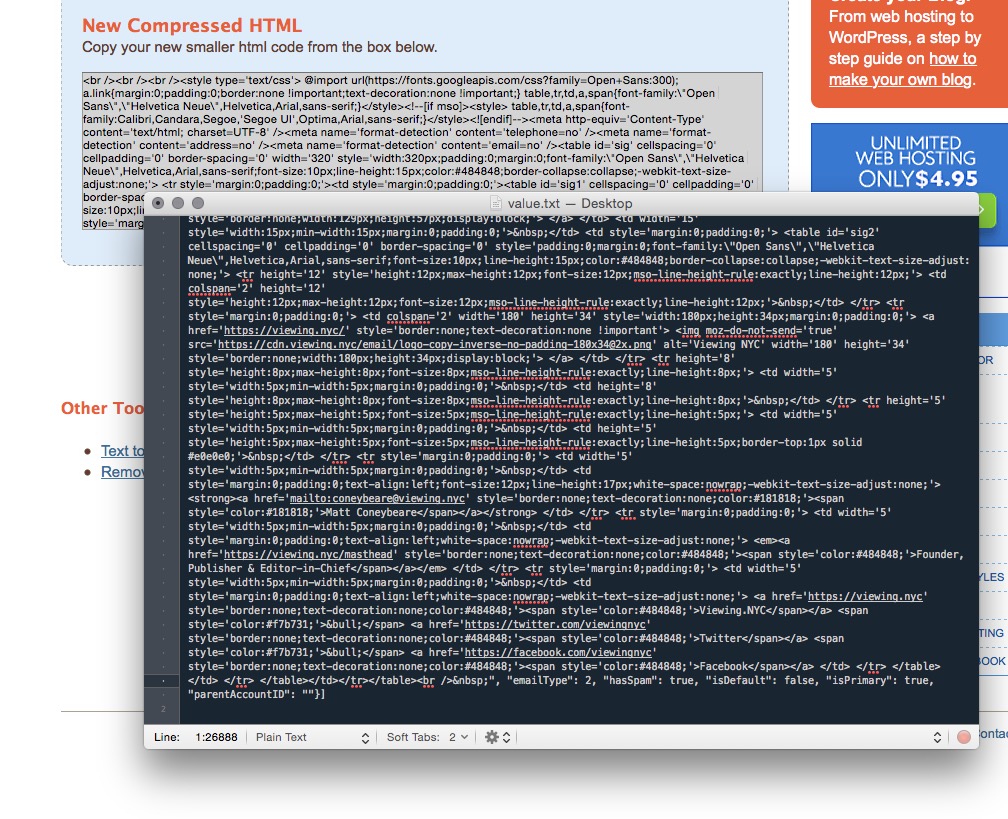
-
Save
value.txtand close it. -
Now we will enter the edited
value.txtfile back into thesettings.dbto install the signature. Remember that it was a blob, and most GUI's will not allow you to enter that in as text and save it as a blob, so we need to use the command line in Terminal.app again.Open Terminal.app and enter the following line:
echo "update kv_store set value = (X'`hexdump -ve '1/1 "%.2x"' ~/Desktop/value.txt`') where key = 'orchestra.account.manager.accounts.set';" | sqlite3 ~/Library/Caches/com.dropbox.mbd.external-beta/settings.db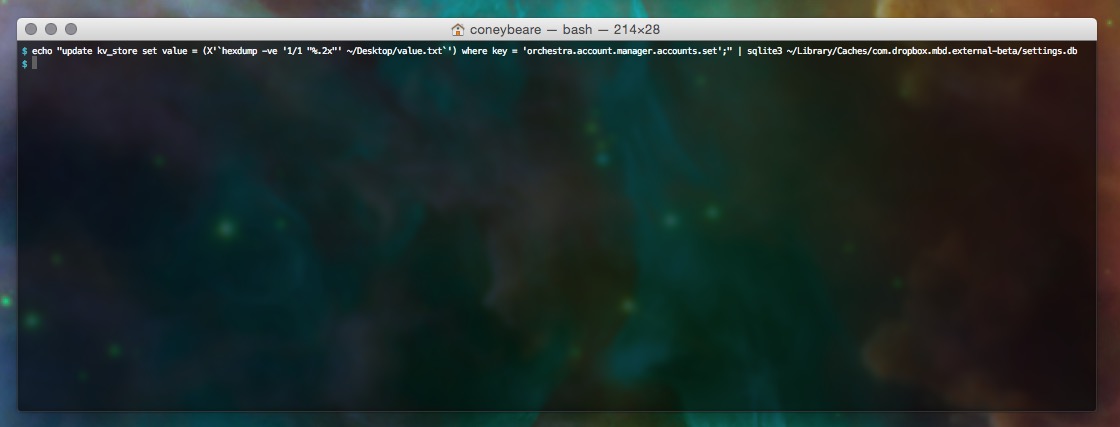
Breaking this down, the command does the following:
- Encodes the
value.txtfile on your desktop in a formatted hex blob - Echos a
sqlitecommand to update said blob for the settings. - Sends that into
sqlite3opened to thesettings.dbdatabase using a pipe
- Encodes the
-
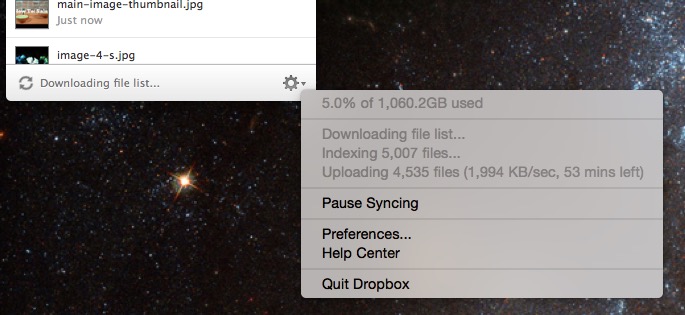
DON'T START MAILBOX.APP RIGHT AWAY
Because Mailbox.app is a Drobox app, if you start the app right away, Mailbox seems to grab whatever the settings were on the server rather than read it from the file. Without knowing exactly what is going on under the hood of the app, it appears that Dropbox has some internal syncing that it needs to do.
So wait a few minutes to open Mailbox.app up and check.
-
After a few minutes, open Mailbox.app and go to
Preferences>Accounts>Signature. You should see your shiny new signature, now installed free from Mailbox.app code manipulation. -
To test that it is working correctly, simply compose a new email from the installed account. If the images show, and everything looks as it should, you have succeeded!
If you need additional help with html signature design or implementation, I have created a company called GiantUser (it's an anagram of "signature") to do just that with very reasonable prices. Check it out!
Finally, I also run a small software company called Urban Apps. It pays the bills so I can take the time to write helpful posts like this one. If you found this page helpful at all, I would really appreciate it if you would check out my iPhone/iPad Apps on the iTunes App Store.
Was this page helpful for you? Buy me a slice of 🍕 to say thanks!
Share on
X Facebook LinkedIn BlueskyComments are configured with provider: disqus, but are disabled in non-production environments.